If you are like me, then you have tons of photos, both old and new, printed and digital. And, if you have children, your production of photos probably exploded from the moment they took their first breath!! But what to do with them all?
Now, here’s the scenario. You have a huge stack of photos and another ‘virtual’ stack of photos on your computer…right?
And, you have looked at those photos (in both formats) and thought that some of them would make great subjects for scrapbooking layouts – or even a whole mini-album. Then, because time doesn’t allow, you put them away.
A while later, when you are ready to do some scrapbooking, you start sifting through them again in order to decide what sort of layout to do next. But you have already done it once, and now you are doing the same job again and wasting your precious “free time” or “me time” in the process.
Here’s How
Here’s how you can organize your photographs so you spend more time making scrapbooking layouts and less time wandering through “piles and files” of photos repeatedly.
This is a neat, free way to sort your printed photographs in readiness for scrapbooking. It is ideal for using up scrap paper, i.e., the unwanted printouts from your printer). This is how to make a mini concertina folder for your photos.
1# Take some A4 sheets of paper and fold them in half.
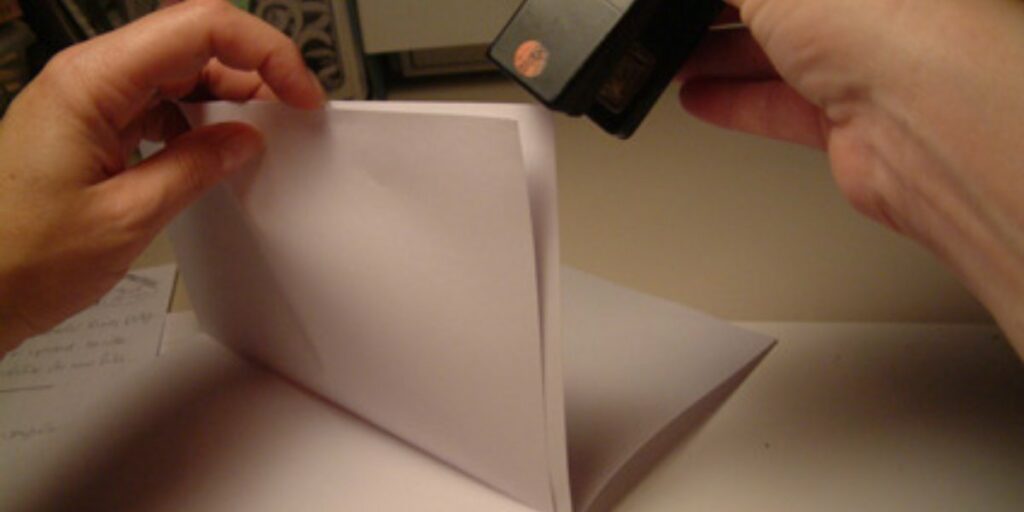
2# With the fold at the bottom, put two pieces of paper together – you should have 4 edges at the top. Now staple the middle 2 edges together at the top right hand corner.
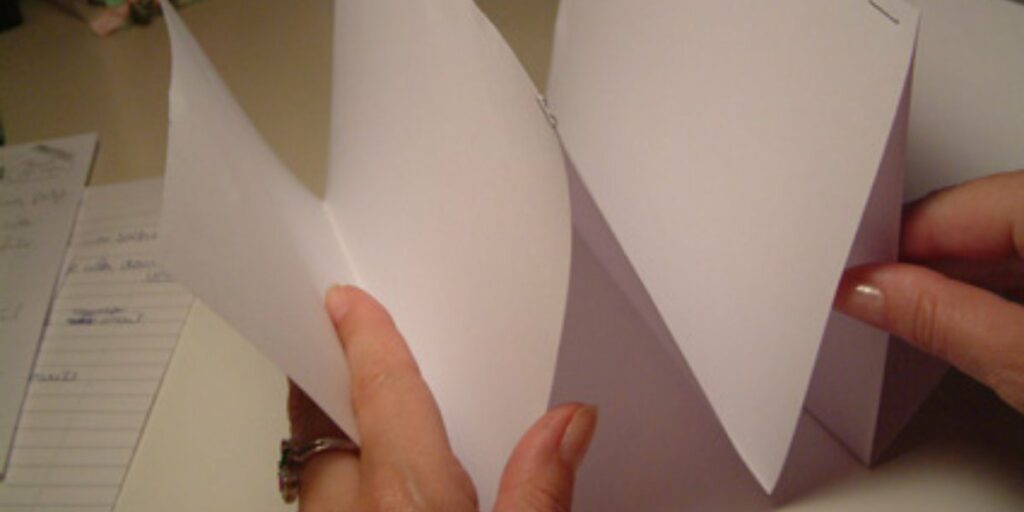
3# Now, take another folded piece of paper and, placing it behind the other two, staple the front of that piece to the back of the last page.
4# Repeat this for another seven or so to give you about ten sections.
5# Lastly, staple all the pages together in the top left-hand corner (a vertical staple, as it makes a better hinge)
NOTE: Now you could use this size (A5) for placing your photos inside, but I actually like to cut mine down a little to just slightly bigger than the pictures (i.e., 6×4″ pictures, so 7×5″ sized folders), as you can see in the pictures.
In each section is a set of photos, which I have sorted into their subject matter. For instance:
- my daughter’s birthday pictures
- pictures relating to each of our dogs/cats/fish
- particular events or outings
- a section for photos of each of my cars!
I wrote a note on the top of each section as to what was in each. As they are already sorted and stored, I can easily find the pictures I want to place onto my next scrapbooking layout.
Another time saver is to use “Post it” notes to write ideas for specific pictures, such as a page title, embellishment ideas, or a bit of journaling, and stick them to the picture. Then, you won’t forget your ideas when you actually get around to scrapping.